Maintaining Icon Libraries in Figma with ILM
Tags: TutorialIconsFigma Plugin Published on:One of the biggest pain points when working with Figma Community files is keeping them up to date. There is currently no way to update them like a library or merge changes as if they were on a branch. But especially with icon sets that are in development, there is a need for a robust update process without having to redownload a new file each time.
This is why I made Icon Library Manager (or ILM). It takes a local folder of SVGs and imports them in Figma as components. When there is a new version of an icon set, ILM lets you update an existing file by updating changed icons and adding new ones. This lets you and your team continue using the same library, causing less confusion and outdated designs.
Get it in the Figma community →
This post will show you the process of creating and updating a icon library with ILM. Knowledge of Node.js/npm, the (macOS) Terminal, Figma components, libraries and general web tech is useful, but not necessary.
If you already have an icon set downloaded, skip to the usage instructions below.
Downloading Icons From NPM
Section titled Downloading Icons From NPMTo create our first library, we need to get the icon set that we want to use as SVG files. NPM is a great resource for this, for example the IBM Carbon Icons or Heroicons sets are available to download there. For this post, we are going to use carbon icons as an example, but it works with all other icon sets that are available as SVG files.
First, we need to install Node.js and npm from here. Then, we create a new folder ‘carbon-icons-current’ and open a new Terminal window here. Do this on macOS by right clicking the folder name and selecting ‘New Terminal in this folder’ from the context menu.
Enter the following command into the terminal, to download the carbon icons package into the folder you created.
npm install @carbon/icons
After npm has finished the download, a few folders and files should appear:
carbon-icons-current/
├─ node_modules/
│  ├─ @carbon/
│  │  ├─ icons/
│  │  │  ├─ svg/    <- All the icons are in here
│  │  │  │  ├─ 16/
│  │  │  │  ├─ 20/
│  │  │  │  ├─ 24/
│  │  │  │  ├─ 32/
│  │  │  │  ...
├─ package-lock.json
├─ package.json
This will vary from set to set and for carbon we can ignore most of it. Interesting for us is the ‘svg’ folder, which contains all icons. Now we are ready to create our library in Figma.
Create an Icon Library With ILM
Section titled Create an Icon Library With ILMCreate a new file and launch ‘Icon Library Manager’ if it’s not already running.

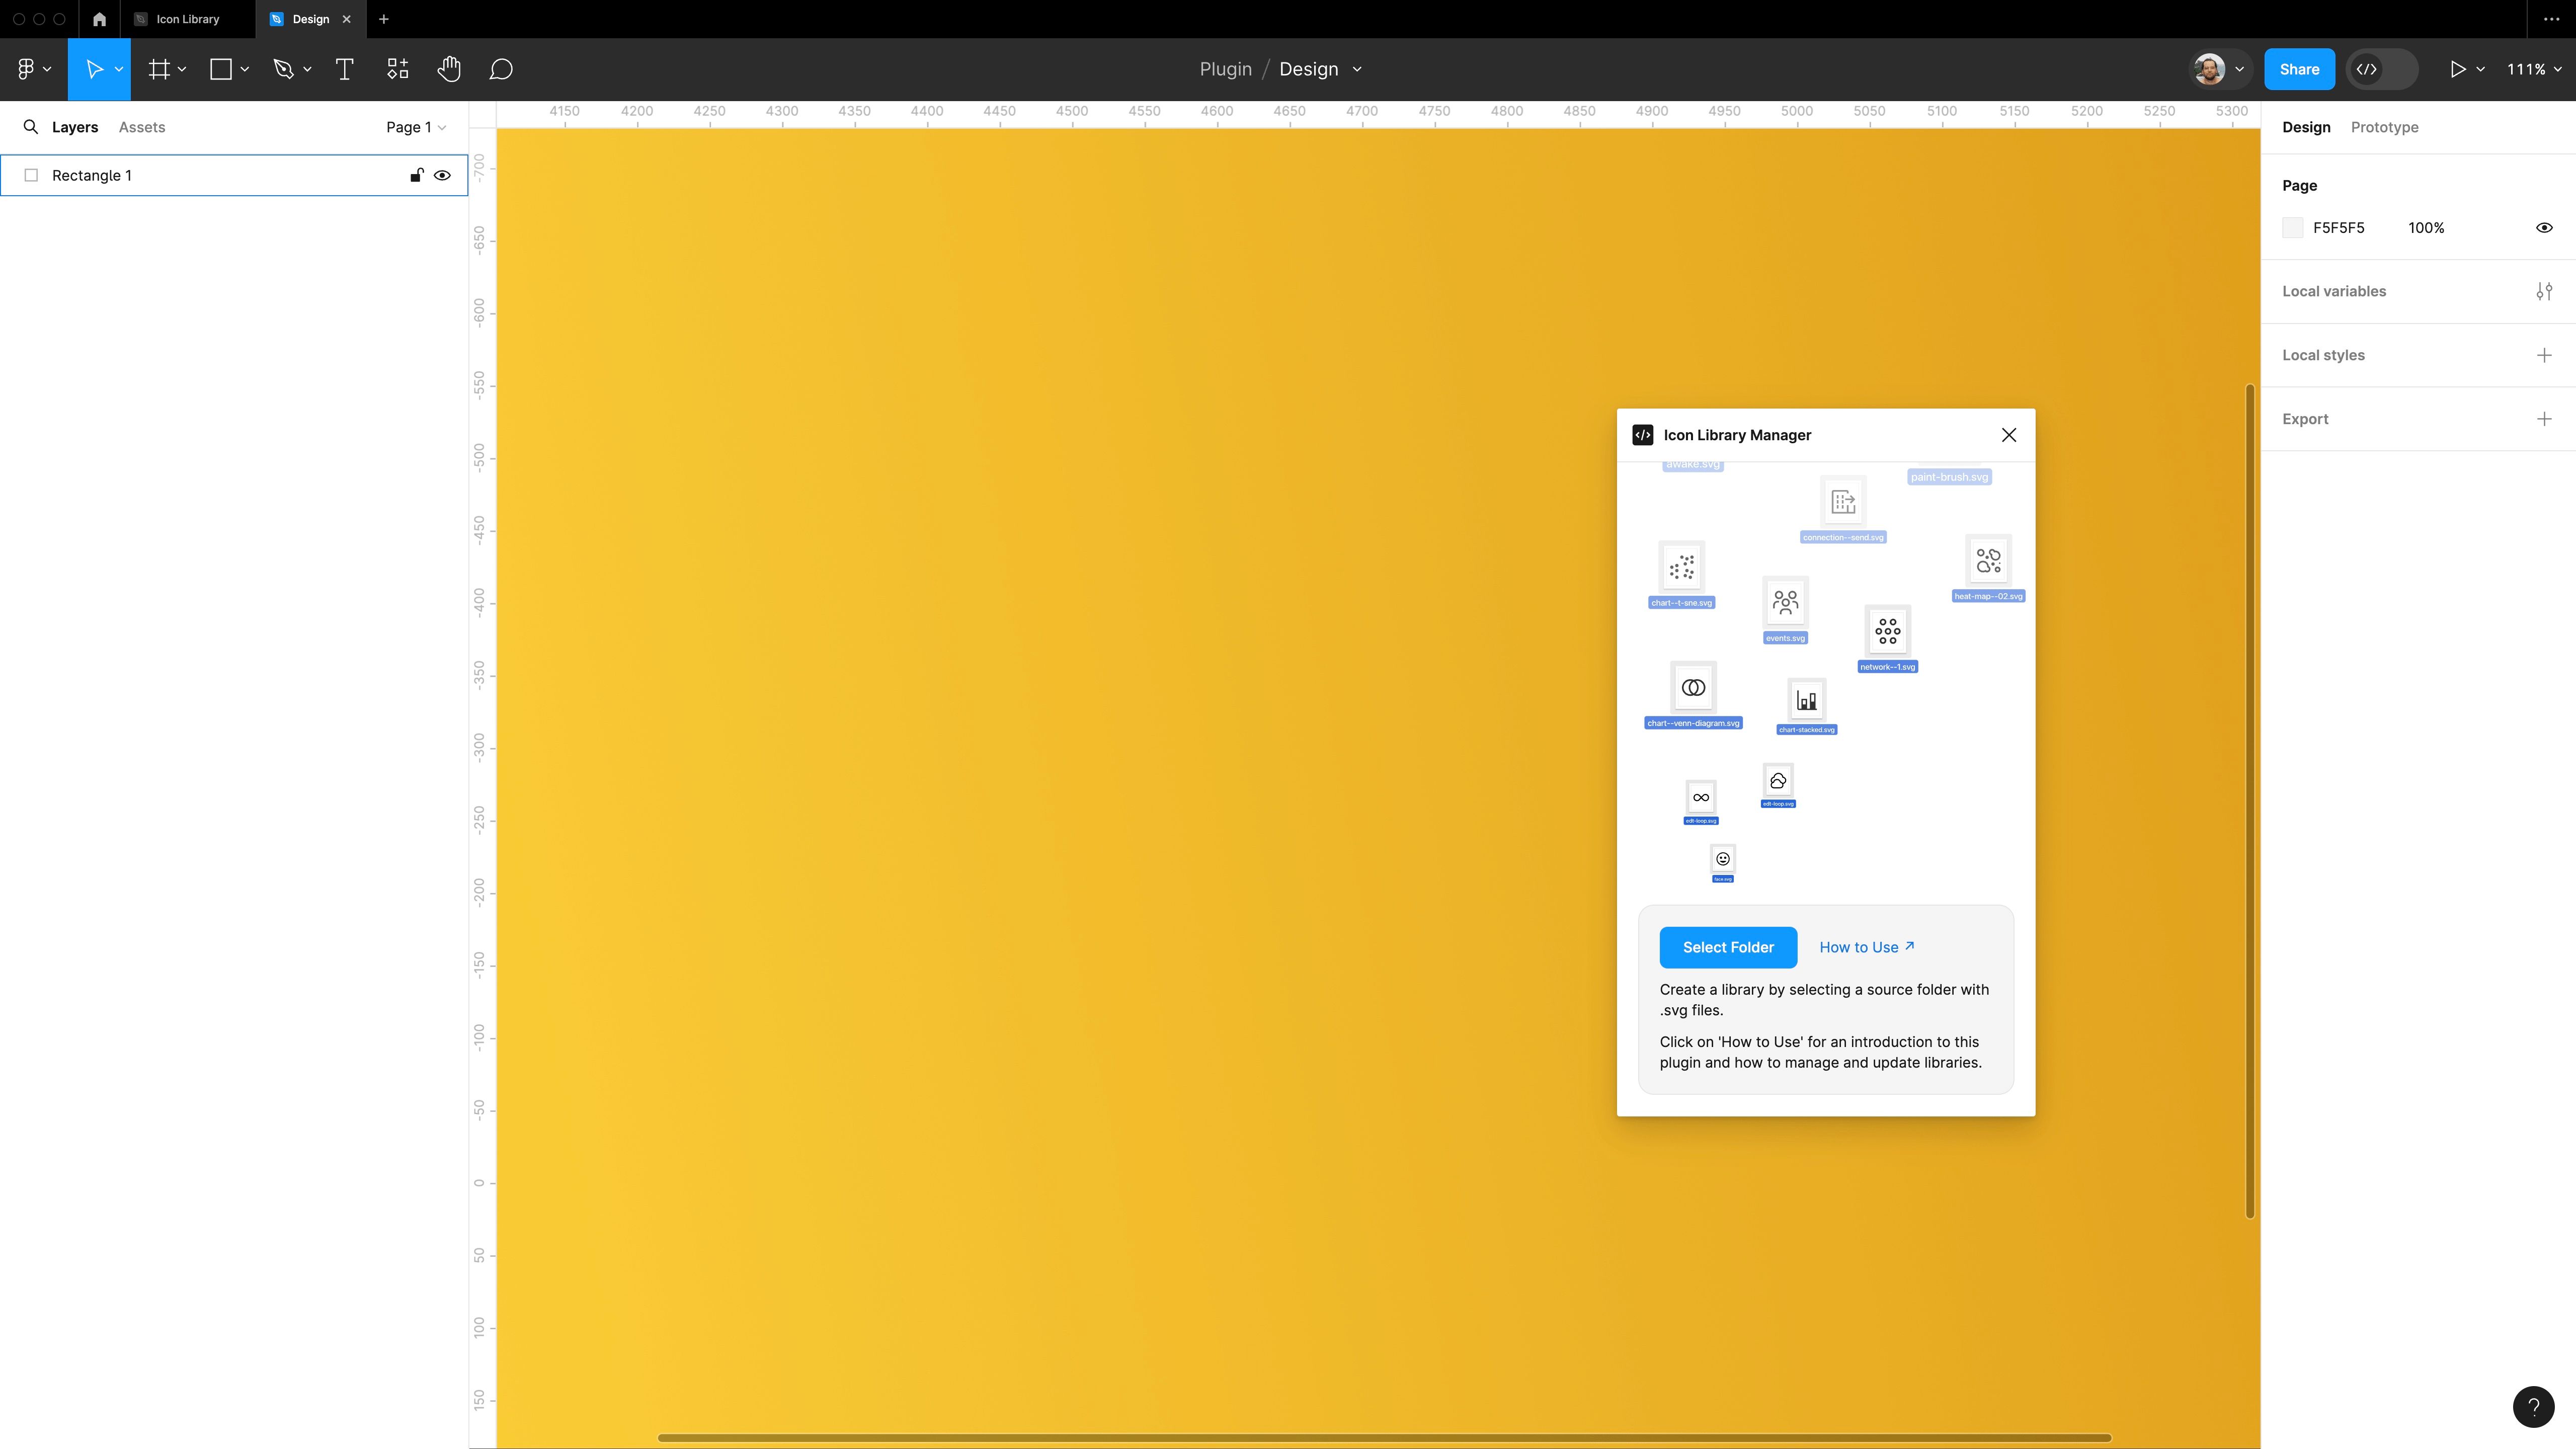
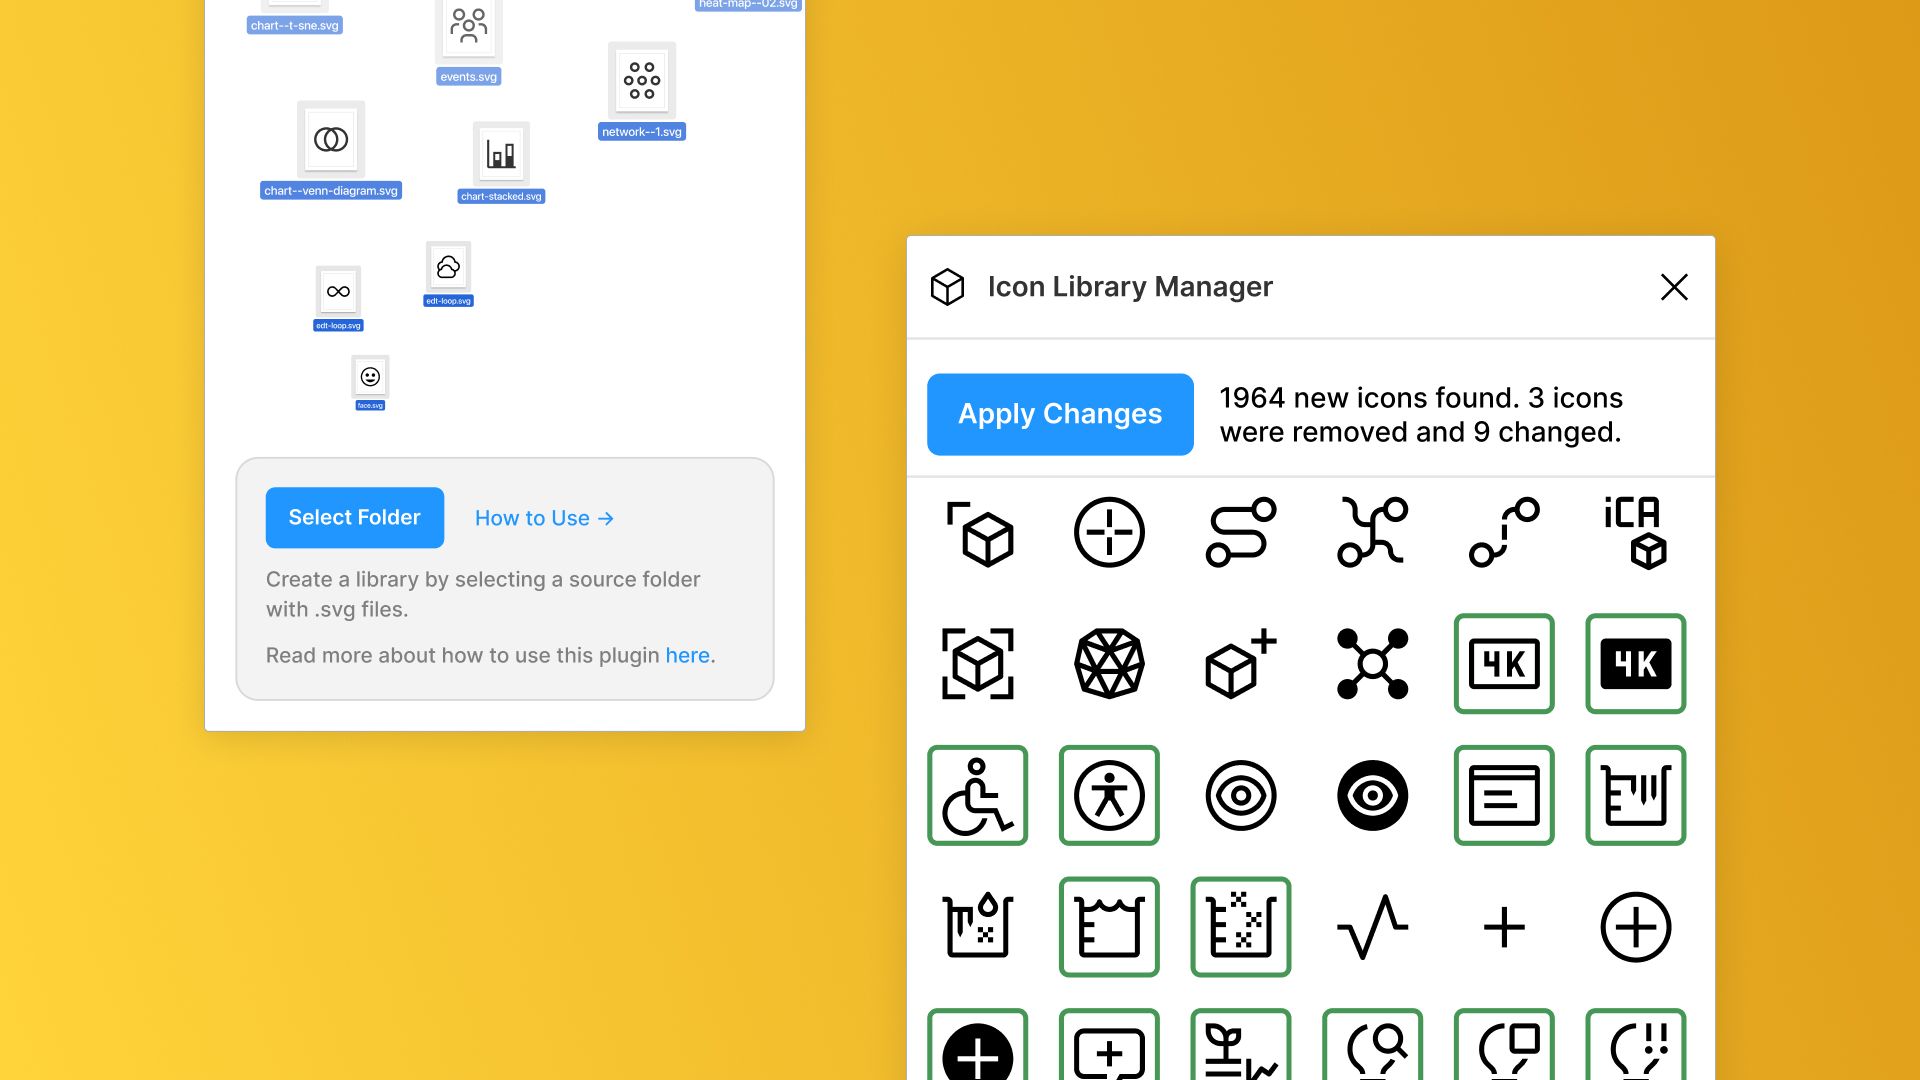
Click on ‘Select Folder’ and navigate to the ‘svg’ folder as mentioned before (or to wherever you keep your icon files) and click ‘Upload’ to load the SVGs into Figma. Once ILM has finished loading, it shows you a summary of how many icons will be added, changed or marked as deleted with the update.1 (Currently the plugin doesn’t delete icons)
Click ‘Create Library’ to apply the changes and insert all the icons into your file. Done! You are now ready to publish this file as a library to your team and use it in your designs.
The original folder structure is preserved in the component names for easy filtering. So Carbon icons are named ‘32/folder-add’, ‘16/chevron-down’ and so on.

Updating Icon Libraries
Section titled Updating Icon LibrariesThis plugin doesn’t just create libraries. A big issue when working with icon sets that are in active development is managing updates. I’ve seen designers update icon libraries by hand, inserting SVGs one by one. To make this tedious process quicker, ILM searches for changes between an existing library in a file and the selected folder and updates only the changed components.2 Now you can publish updates to your Figma library without having to switch out the whole library for each update.
To try this out yourself, download an old version, for example carbon icons 11. Follow the same steps as above, create a second folder ‘carbon-icons-old’ and use the command below to download the icons.
npm install @carbon/icons@11.0
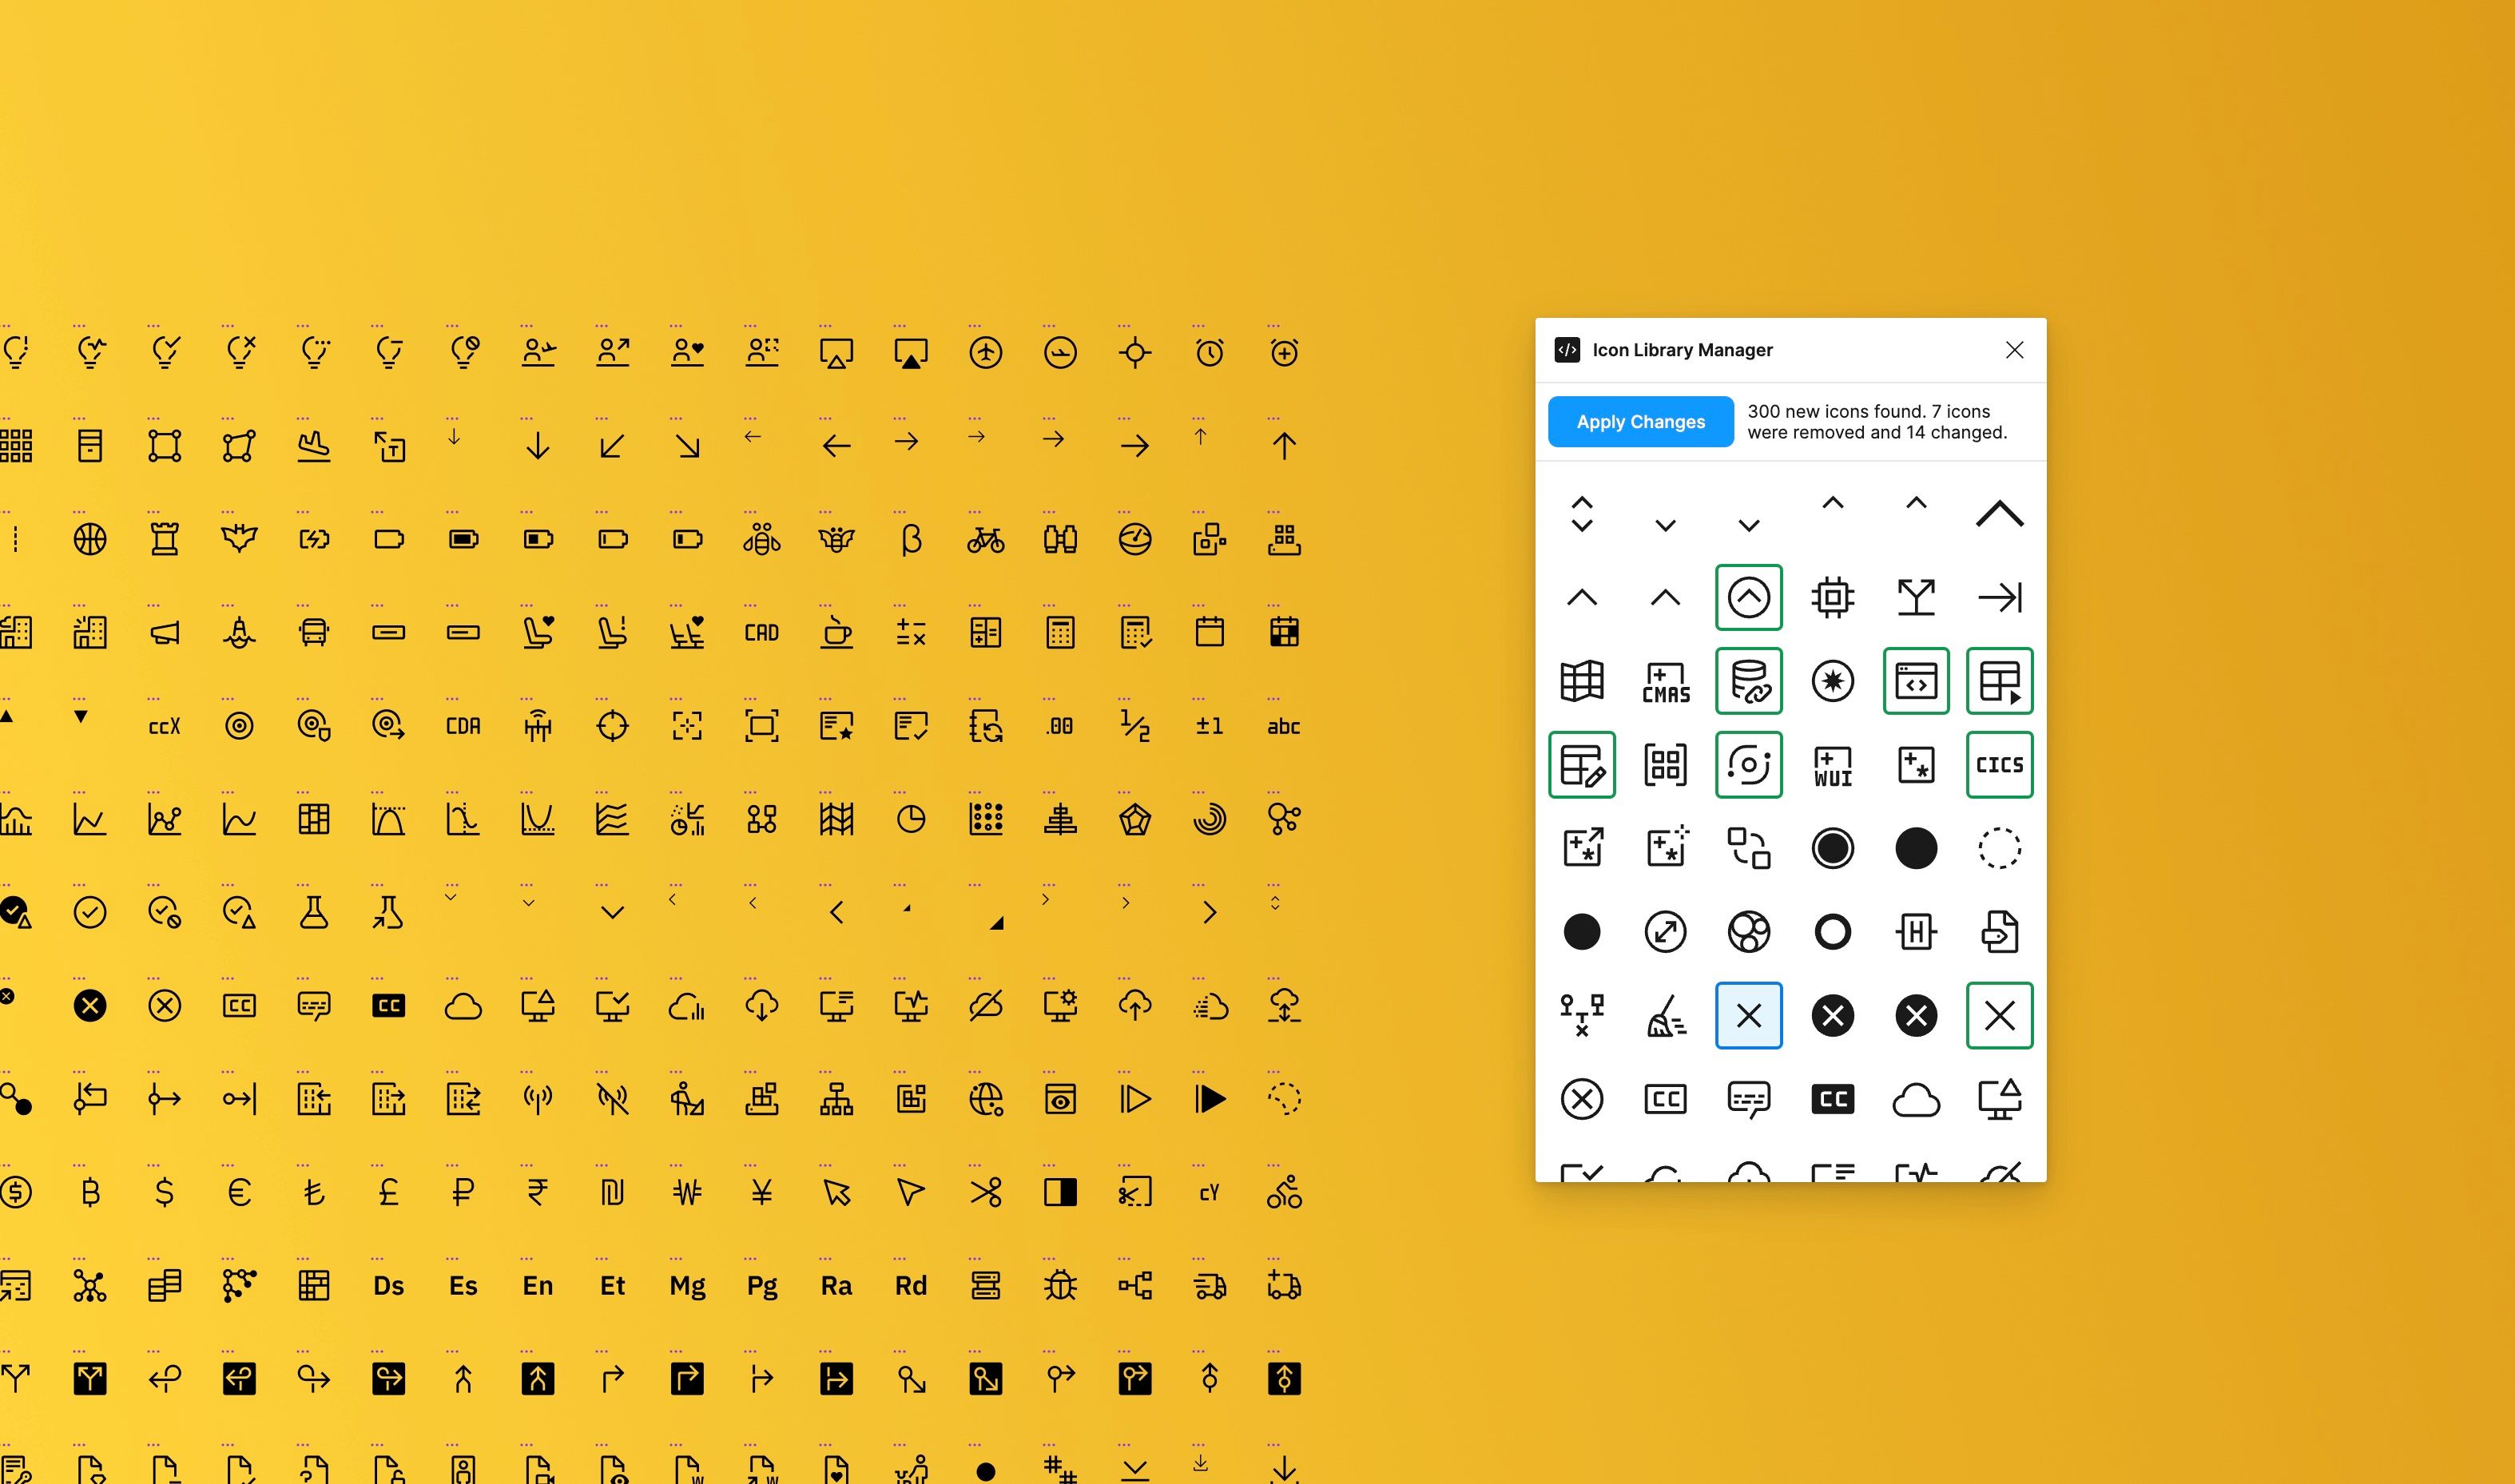
Then, create a new file, open ILM and create a new library based on carbon icons 11. Open the plugin again and this time select the ‘svg’ folder inside ‘carbon-icons-current’. Once the process is finished, ILM shows you the differences between the existing icons in your file and the ones you selected are. (at the time of writing version 11.34 is the latest, which contains about 300 new icons and a couple of changes compared to 11.0)
Lastly, click on ‘Apply Changes’ to update the file and you are done! 🎉 Now you can go ahead and publish the library update, so you and your team members can use the newly updated icons.
This is especially helpful, when you download icon files that were created with this plugin, like the file I created for the carbon icon set. After you download it, you can keep up to date yourself, which would otherwise not be possible in Figma.

Next Steps
Section titled Next StepsThank you for your interest in ILM, let me know on Threads what you think and let me hear your ideas and suggestions. Also, I would be happy to see more high quality icon libraries built with ILM in the Figma community for other icon sets.
To make usage of the imported icons in your designs even easier, you can build a placeholder component. I wrote about best practices for constructing them and how to use icons in design projects in general in my previous post.
The source code is available on GitHub https://github.com/KaiMagnusMueller/SVG-Icon-Manager. Feel free to raise issues or use it as a starting point for your own plugin.
Footnotes
Section titled Footnotes-
Even though I’m focusing on icons here, there might be more use cases for this plugin. It’s already flexible regarding icon sizes, so it could be used as a general purpose SVG importer/updater. ↩
-
Figma uses an internal id for each element to identify overrides, component updates and branches. Because of this, we can’t simply delete the component and add it with the updated icon and the same name again. Doing this would cause it to show up during a library update as two separate components, one ‘removed’ and one ‘added’.
To make it work, ILM finds the components that were changed and swaps out the icon path, while keeping the component layer itself unchanged. Figma will then show the components as ‘changed’ during updates. ↩